A Quick Start Guide for WiFiBoy Pro
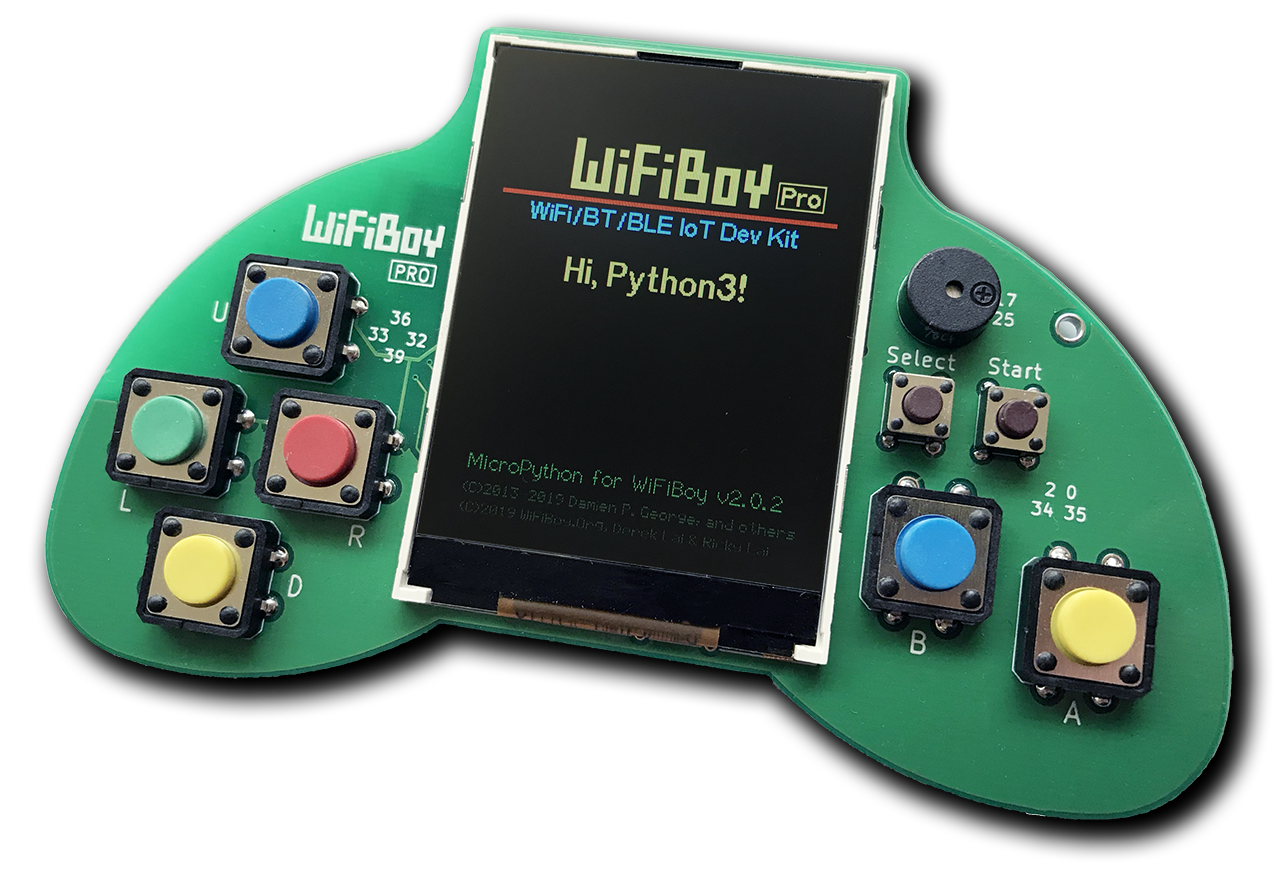
Step 1. Plug WiFiBoy Pro Kit into your PC
1. Connect WiFiBoy Pro to your computer with a MicroUSB cable.
We suggest to use WiFiBoy official MicroUSB cable for best connection.
(Note: Some Charge-only MicroUSB cables don't have data transfer capability.)
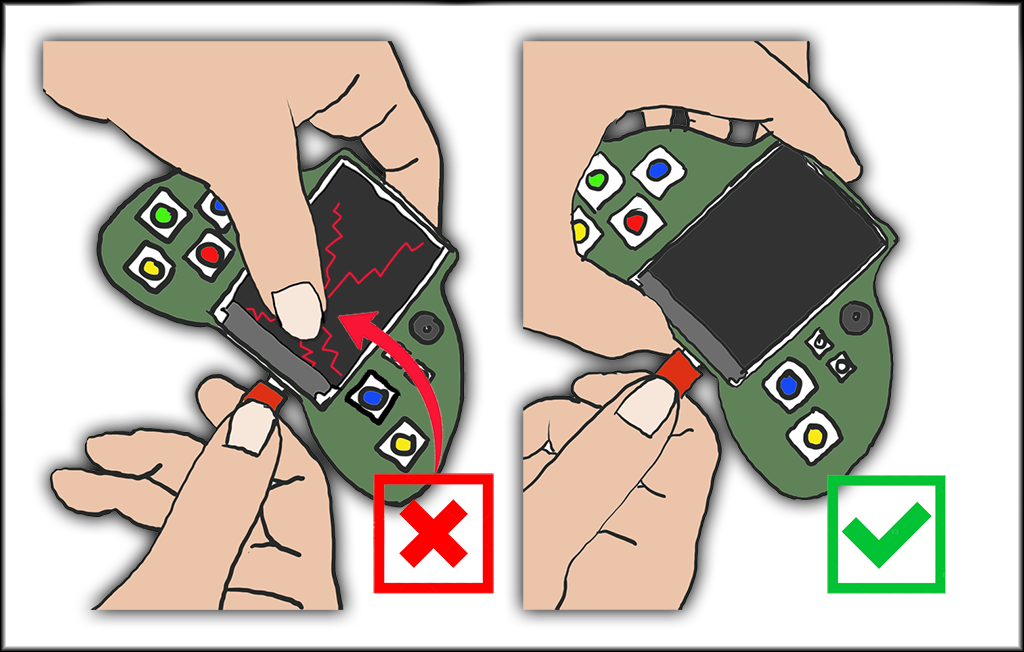
2. Note: Please DO NOT press LCD while you plug/unplug MicroUSB cable.
(The TFT LCD is a fragile glass. Be careful!)
Step 2. Install USB Serial driver
1. Download and install CP210x USB to UART Bridge VCP Driver.
Please identify which platform version to be fit for your computer OS.
Windows 10, Windows 7/8, Windows XP, macOS, Linux have different drivers.
Note: There are both 32-bit and 64-bit versions in the driver pack. Pick the right one to install.
Step 3. Choose a Development IDE
WiFiBoy Pro supports two major development IDE:
1. MicroPython: Download WiFiBoy Python Playground Blockly/Python Development IDE
2. Arduino IDE: Install Arduino for ESP32 Support: Windows, Mac, Ubuntu Linux
Note: MicroPython core was factory pre-installed in your WiFiBoy Pro.
We suggest you to try WiFiBoy Python Playground first.
You can check Python fun stuff later in Tutorials and Examples pages.
Step 4. Check "Blink" LED control example
Use eather MicroPython or Arduino examples to blink WiFiBoy Pro's blue LED.
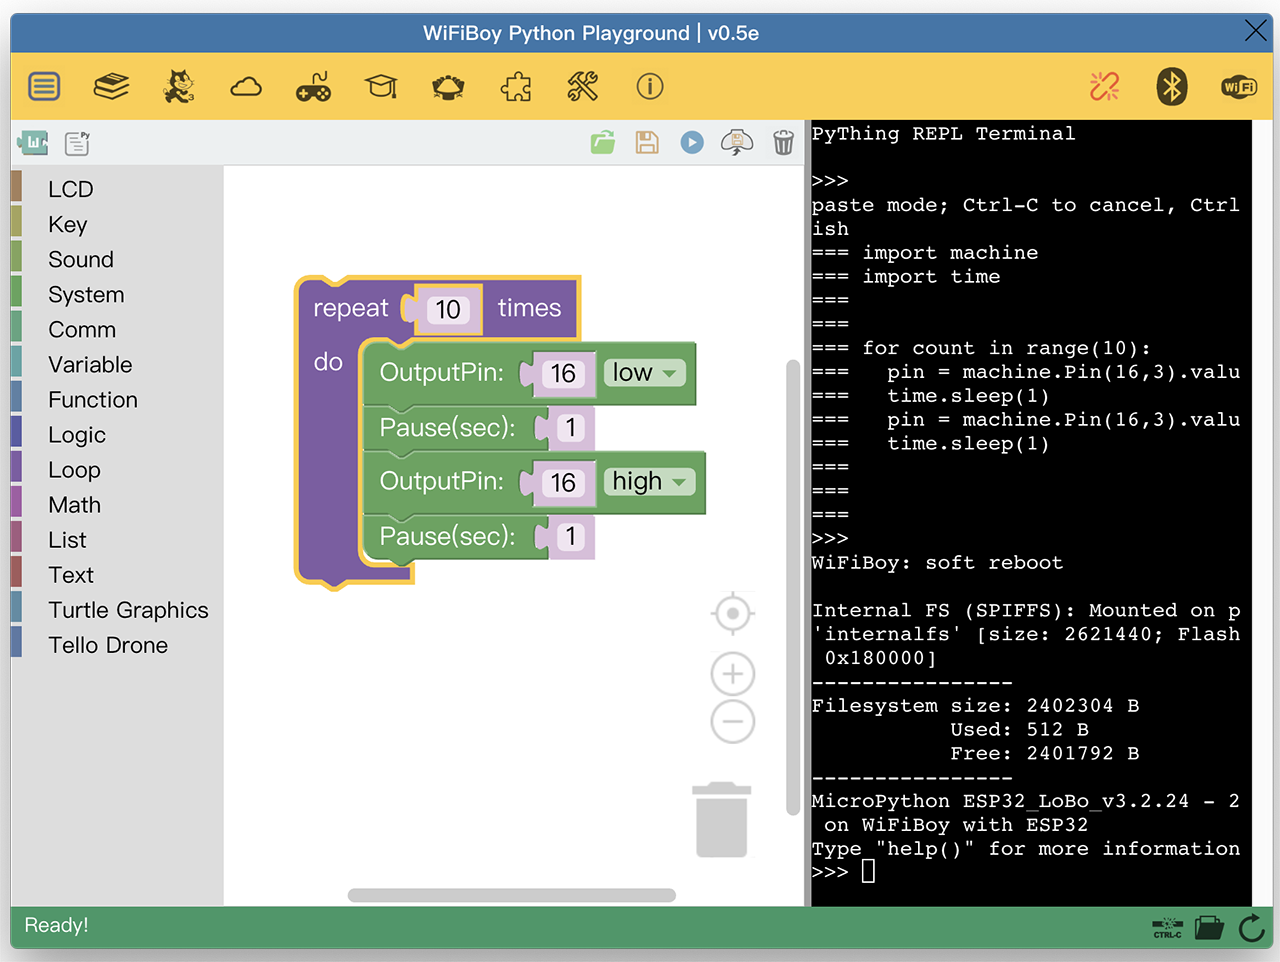
1. MicroPython: Using "WiFiBoy Python Playground" IDE
Directly execute "ptp.exe"(win) or "ptp.app"(macOS). No installation required.
Click up-right USB icon and pick correct COM Port to connect.
Click "REPL Terminal" black area and press Enter, you'll see ">>>" prompts.
Type "machine.Pin(16,2).value(0)" to light on a blue LED in the back side of WiFiBoy Pro.
Or you can download Blink blockly demo and execute by clicking RUN button.
2. Arduino IDE: Arduino ESP32 supported IDE
Download Arduino Blink example
Make sure you have proper installation for Arduino ESP32 Support Dev Env.
Choose gerneric "ESP32 Dev Module" as your dev board.
Pick the correct Serial port for WiFiBoy Pro. (if not, check CP210x driver.)
Compile and Upload Blink example to WiFiBoy Pro. (baud rate: 921600)
And you should see a blue LED blinking on the back side of WiFiBoy Pro.
Step 5. Congratulations!
If you successfully blink the LED, you can start to play WiFiBoy Pro now!
WiFiBoy Pro is good for IoT maker projects and fun game develeopment.
Please check our Tutorials and Examples page for more fun!
We suggest you to join our dev forum/community: WiFiBoy.Club.
You can share your projects, discuss development ideas and even ask for helps there.
Thank you for your support to WiFiBoy.org.
Enjoy your WiFiBoy Pro!